Table of Contents
Are you tired of creating flat and lifeless maps that fail to captivate your audience? Do you want to take your mapping skills to the next level and create stunning 3D visualizations that leave a lasting impression? Look no further than Hillshade Lapakgis, the ultimate guide to bringing depth and dimensionality to your maps. In this comprehensive guide, we’ll explore everything from the basics of hillshading techniques to more advanced tips for adding texture, lighting, and interactivity. Whether you’re a seasoned cartographer or just starting out, Hillshade Lapakgis has something for everyone who wants their maps to stand out in a crowded field. So grab your mouse (or pen) and get ready to unleash your creativity!
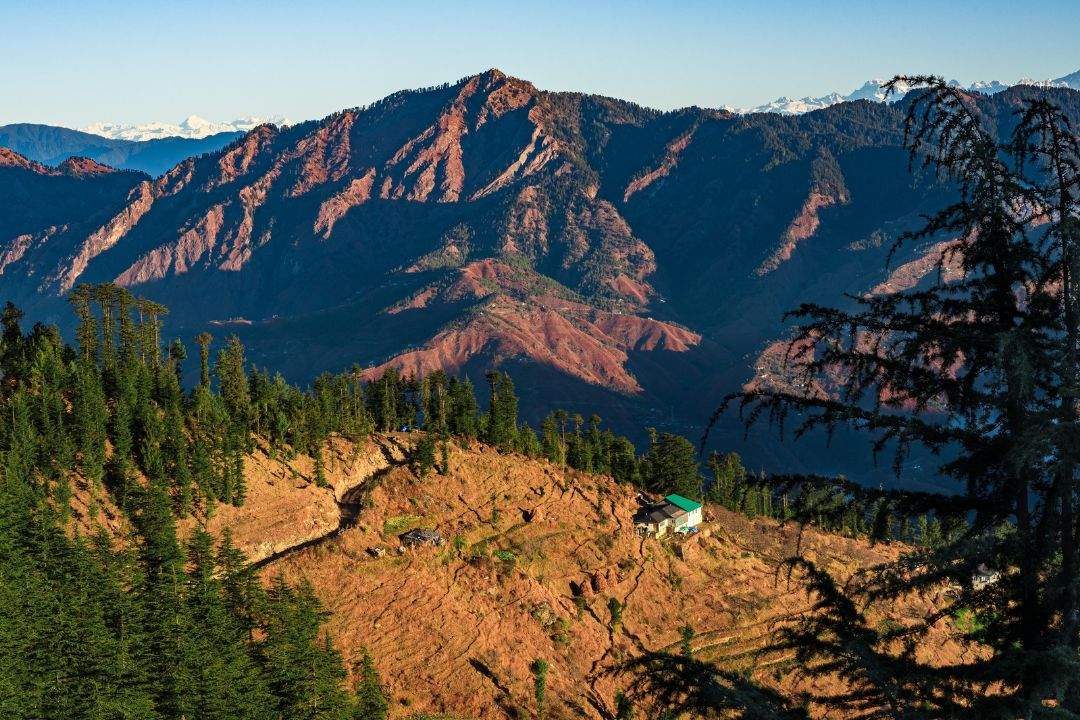
What is Hillshade Lapakgis?
Hillshade Lapakgis is a style of map which utilizes dark colors to create an oppressive, foreboding atmosphere. This style of mapping is popular among video game designers and other creative professionals who need a creative way to illustrate difficult or dangerous situations.
There are many different ways to achieve the look of hillshade lapakgis. The simplest way is to use a dark color for the terrain and light colors for everything else. Another approach is to use a gradient effect that gradually transitions from dark to light across the map. Finally, you can use a rotation tool to flip the colors upside down on certain areas of the map.
Whatever method you choose, remember to keep your map looking consistent throughout. Avoid using bright colors near the edges of the map or in high-traffic areas. And be sure to test your map out before finalizing it – sometimes small tweaks can make all the difference.
How to Use Hillshade Lapakgis
If you want to create stunning d maps with hillshade, then read on! This comprehensive guide will teach you everything you need to know about this popular mapping technique.
First, let’s take a look at what makes a great hillshade map. Good hillshade maps should have well-defined contours and interesting topography. They also need to be realistic and accurate in terms of color and lighting. To achieve these goals, you’ll need to follow a few simple steps.
1. Choose the Right Hillshade Image
The first step is to find the right hillshade image. You can use any image that you want, as long as it has good contours and is realistic looking. Try to find an image that’s high resolution so that the details are sharp.
2. Convert the Image into a Hillshade Map File
Once you’ve found the right image, it’s time to convert it into a hillshade map file. To do this, open the image in Adobe Photoshop or another photo editing program and click on the “hillshade” icon (it looks like a mountainous landscape). In the resulting dialog box, choose the degree of darkness that you want your map to have (the lower the number, the darker the shade). Click OK to save your changes and voila – your beautiful hillshade map is ready!
How to Customize Hillshade Lapakgis
Customizing hillshade lapakgis is a great way to personalize your gaming experience. There are many different ways to customize your lapakgis, so it’s up to you what looks best on you! For example, you can change the colors, fonts, and sizes of the text and images. You can also add your own graphics or photos.
Here are some tips on how to customize your lapakgis:
1. Start by finding an image or font that you like. You can use this as the basis for all of your text and graphics.
2. Next, decide what colors you want your lapakgis to be. You can choose any color that appeals to you, as long as it matches one of the theme colors in Hillshade Lapakgis (listed below).
3. If you want specific text or graphics to be in prominent positions, make sure to type or paste them into the appropriate spots using a custom font or color respectively!
4. To add effects or borders around certain areas of your lapakgis, use Photoshop or GIMP (free software). There are tons of free tutorials online that will help you get started with these programs; just Google “photoshop tutorial gimp” for starters!
5. When you’re finished customizing your lapakgis, take a screenshot and share it with us on our Facebook page (listed below)! We’d love to see how
Conclusion
If you’re looking to take your cartography skills to the next level, then you’ll want to check out Hillshade Lapakgis. This comprehensive guide teaches you how to create stunning 3D maps using a variety of software applications, and it covers everything from basic mapmaking techniques to more complex mapping methods. Whether you’re a beginner or an experienced cartographer, Hillshade Lapakgis is an essential guide that will help you take your mapping skills to the next level. so don’t hesitate and pick up a copy today!